|
Congratulations to Martha Green as the winner of one of my patterns for the Quilt Woman Blog Hop.
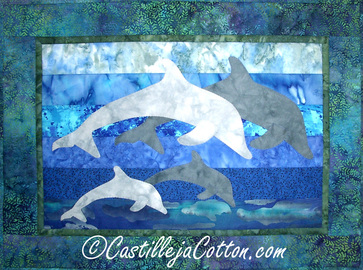
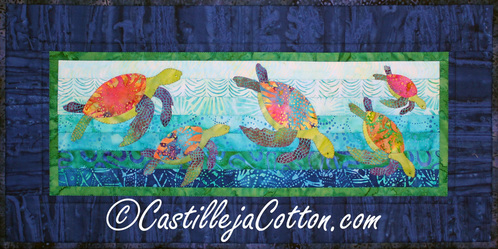
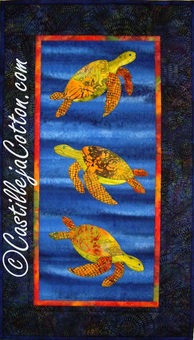
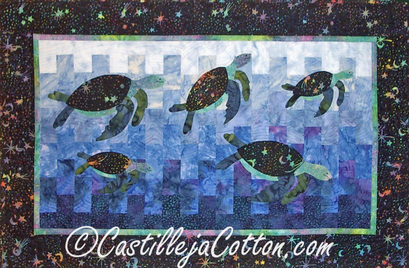
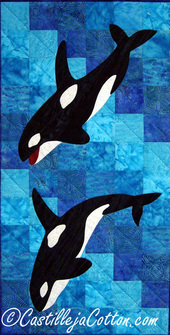
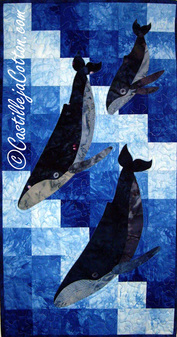
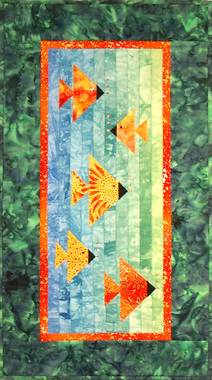
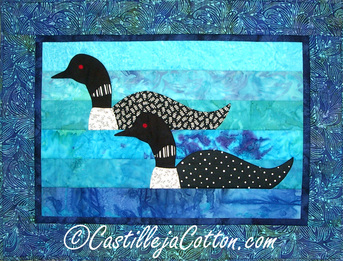
This is part of the Quilt Woman Water Blog Hop. At the end of this blog, find out how you can win a free pattern. One way is the use strips of different fabrics. The Dolphin Family Dive pattern uses 6 strips with the value from light to dark to give the impression of depth to the water. This Turtles Riding the Waves pattern uses 7 strips varying the value from light to dark. This Turtles Up and Down pattern use one fabric for the water. The fabric looks like water with the horizontal lines and the changes in value. This Turtle Frolic pattern uses strips which are cut apart and moved up and down to create the water. Again the fabric values move from light to dark. This orca whale quilt uses fabric squares in values from medium to dark to create the water. This humpback whale pattern uses fabric squares and in this case the values go from light to dark. This fish pattern uses the strips in a vertical way varying the colors from blue to green. This loon pattern uses horizontal strips varying the value and the loons look like they are tucked in the water. As you can see there are different ways to create the look of water using strips, squares or whole pieces of fabrics. If you'd like to be in the running for one of my patterns (winner's choice!), please leave a comment on my Facebook Page. I'll choose a random winner at the end of the blog hop!
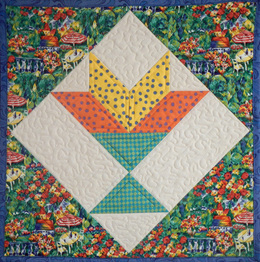
Please join the other QuiltWoman.com designers as they explore Summer Waters with great projects, tips, and give aways. 8/4/2015 Tammy Silvers http://www.tamarinis.typepad.com/ 8/5/2015 Carol Steely funthreads.blogspot.com 8/6/2015 Heidi Pridemore www.TheWhimsicalWorkshop.com 8/7/2015 Kathie Donahue http://www.prairiecottagecorner.blogspot.com 8/8/2015 Toby Lischko gatewayquiltsnstuff.blogspot.com 8/9/2015 Jessica J.E. Smith www.quiltHacks.com I found this basket block in my pile of UFOs. As usual, I have difficulty deciding how to quilt it.
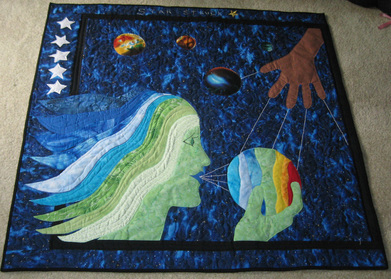
I used my walking foot to stitch in the ditch around all the pieces. I stitched again about 1/4" away from the seams in the flowers and basket. Margaret sent me this photo of her version of Mother Earth Save Our Planet pattern.
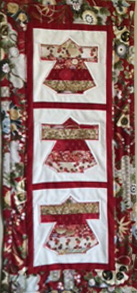
The following video is my process as I create an art quilt of the cat Maybelline. I really enjoyed this quick quilt project. So much so that I am now starting the larger quilt-Stripped Kimono
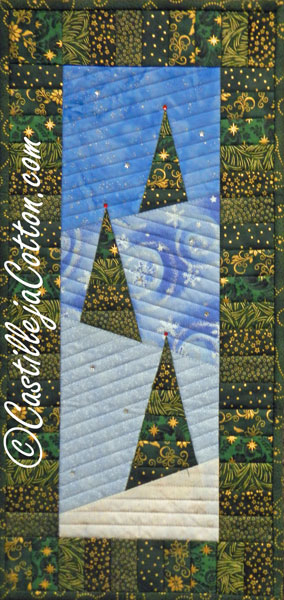
Karol Feb 2015 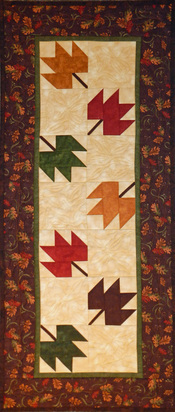 I took the Craftsy course Continuous Line Quilting by Ann Peterson. I decided to try my new skills on this Maple Leaves Runner quilt. This course has excellent information one how to free motion quilt without having to mark your quilting lines. A pattern is available for this quilt in my online store. 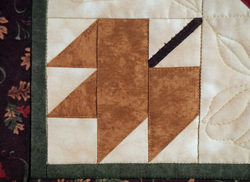 I first stitch in the ditch between all the blocks. Next I stitched in the ditch between the inner border and background. Next I stitched in the ditch between the inner and outer border. Then I free motion stitch around each of the leaves. 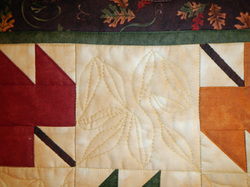 I used a freemotion leaf for the plain blocks. I stitched the leaf and then stitch the stem so I ended at the end of the leaf so I could start the next leaf. I did find that I got cornered and could not always get easily to the next free space. 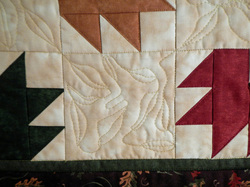 Next time I would sometimes just stitch a partial stem so I would end up at the start of the leaf and then stitch to the next space. 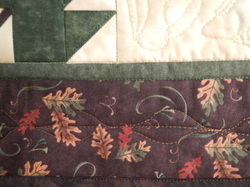 This leaf freemotion technique worked really well in the border. It was easy to stitch the leaf and stitch the stem to get to the next leaf. I drew a few leaves to start with however I found that I didn't need to do that. 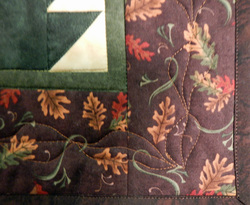 For the corners, I tried to end the leaf end in the center of the corner so that I could turn the quilt and start the next leaf. I was very happy with the border. The plain block needs some practice to adapt this leaf quilting pattern. I am grateful to be featured in the Dec./Jan. 2015 issue of McCall's Quick Quilts. This quilt pattern Winter View is easy to make using strips for the trees. The pattern is free with the purchase of the magazine.
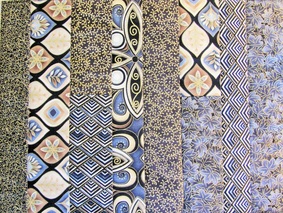
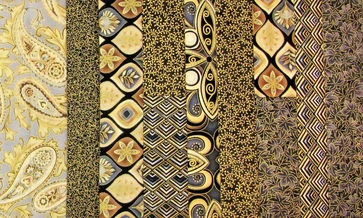
Click here to see information about the pattern. McCall's Quick Quilts subscription issues will begin shipping October 14, 2014. By October 28, 2014, the issue will be available on newsstands, as well as in print or digital download format. Click here to buy the issue after Oct. 28, 2014. When I make a quilt I usually have left over scraps that are different sizes. In this case I sewed all the strips together and since they were left over from a fat quarter the size was 16” by 20”. I cut the strip set in half widthwise so I had 2 blocks 10” by 16”. If I sewed the 2 blocks together that would be 10” by 32” which seemed too short for a table runner, so I added a strip that I had left over from the backing to the middle between the 2 blocks. I now had a table runner 10” by 30” which seemed a little too short. So I sewed a strip to each end of the table runner. So now I had a table runner 10” by 36” which seemed to be a good length. I layered it on batting and pieced the backing from left over fabric pieces. I just keep adding strips until I had a piece big enough for the backing. I then spray basted the 3 layers and quilted in the ditch with gold rayon thread. I could have used the quilt as you so method except that I don’t know what I am going to end up with table runner or placemats or a tote bags so that method doesn’t work for me. I bound the table runner with black fabric. Below is the finished table runner with lovely black and gold fabrics left over from my Spiral Log Cabin quilt. Below is my Sprial Log Cabin quilt that I used the left over strips from.
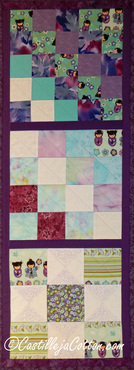 I had some left over squares from a project which were different sizes. I decided to make 3 blocks with 3 different square sizes. I added some sashing between the blocks and a small border. 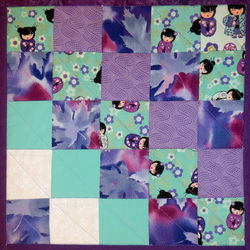 For quilting the block with the smallest squares, I stitched between the squares horizontally. I then stitched on the diagonal through the squares. The thread color I used for the entire quilt was medium purple. It blended well with all of the fabrics. 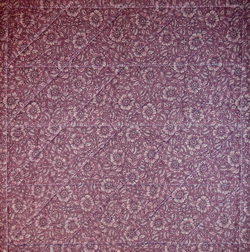 This is the back of the quilt. 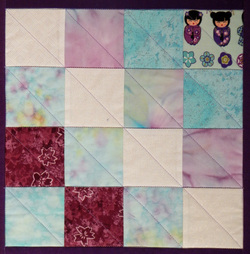 For quilting the block with the medium squares, I stitched between the squares horizontally. I then stitched on the diagonal through the squares. 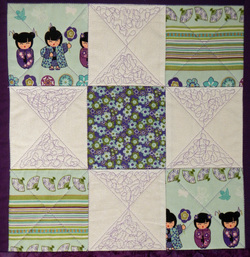 For quilting the block with the largest squares, I stitched in the ditch between each of the squares. Then I stitched on the diagonal twice. Then I free motion stitched scribbles in the white square triangles. I learned this technique in this Craftsy class Design It Quilt It by Cindy Needham 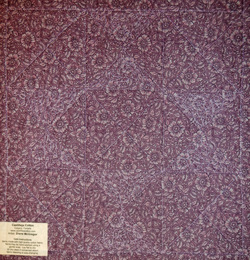 This is the back of the block with the scribbles. 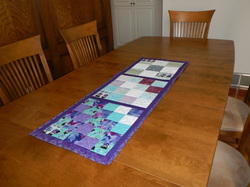 Here is the table runner on my table. How do you quilt blocks with squares? |
AuthorI am the owner of Castilleja Cotton, a quilt pattern design company that has been in business since 1993. The company has over 600 patterns most of which are design for the novice quilter. For older blogs, click here. Archives
February 2020
Categories
All
|



 RSS Feed